An Introduction to Microsoft Azure Machine Learning Studio - Part 1
Experiencing a cloud-based, drag-and-drop ML product (and catnip)...
Data Science Altitude for This Article: Camp Two.
While working my way through the code in Wei-Meng Lee’s excellent Python Machine Learning, I ran into Chapter 11, titled Using Azure Machine Learning Studio.
Sporting a drag-and-drop interface, you can tackle many Data Science problems without the need to write a line of code. You’re not absolved from knowing why you’re doing what you’re doing, of course, but you can try out some problem-solving proofs-of-concept in short order.
By the time we’re done, we’ll also be able to use Azure to host our model. From there, it can be embedded into remote calls from desktop environments or dedicated applications, allowing for myriad ways of monetizing a model with valuable insights.
Once I ran through the examples, you’d have thought I was a cat with a new toy smothered in catnip. So if you’re prepared to roll around on the floor and paw at nothing but air, let’s jump into its use in an example dataset pulled from the UCI (University of California - Irvine) Machine Learning Repository.
Azure ML Studio account setup: It’s a breeze…
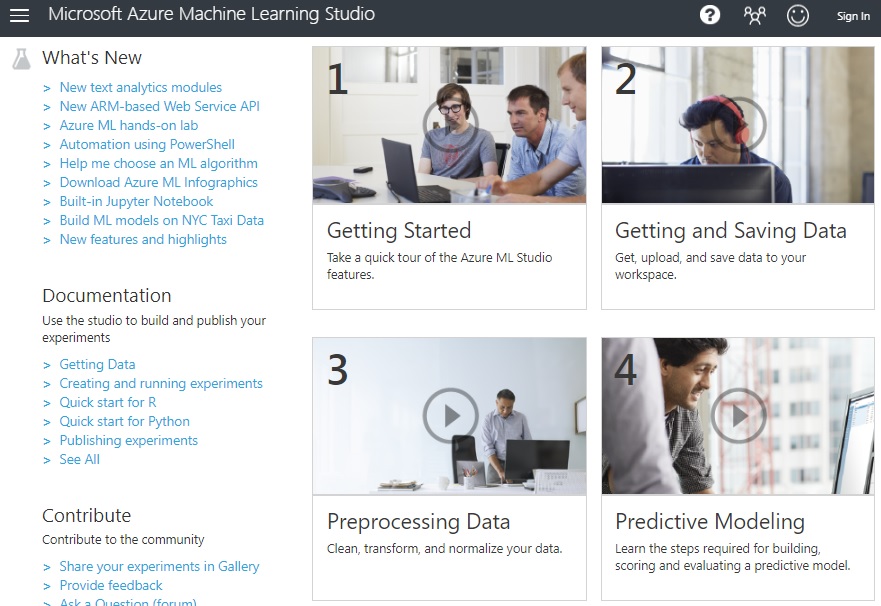
The first step is to head on over to studio.azureml.net.

I’d highly recommend taking a look at the five videos that you’ll find further down the page. The first one, for sure. They’re about 30 minutes in total.
- Getting Started
- Getting and Saving Data
- Preprocessing Data
- Predictive Modeling
- Publish a Predictive Model
You’ll see many of the things we’ll be attempting in our first model. When you’re ready to continue, you’ll have to set up a Microsoft Account if you don’t have one already. Those can do can just go ahead and hit the Sign In button. otherwise, take the Sign up here link.
One word of warning - if you take the Guest Workspace option in blue, you won’t be able to do the last task in one of the upcoming articles: publishing a model that can be accessed remotely. If you don’t want to set up a Microsoft Account, I understand. I’ll narrate it so you can follow along without it. Otherwise, the green section is where you want to devote your attention.
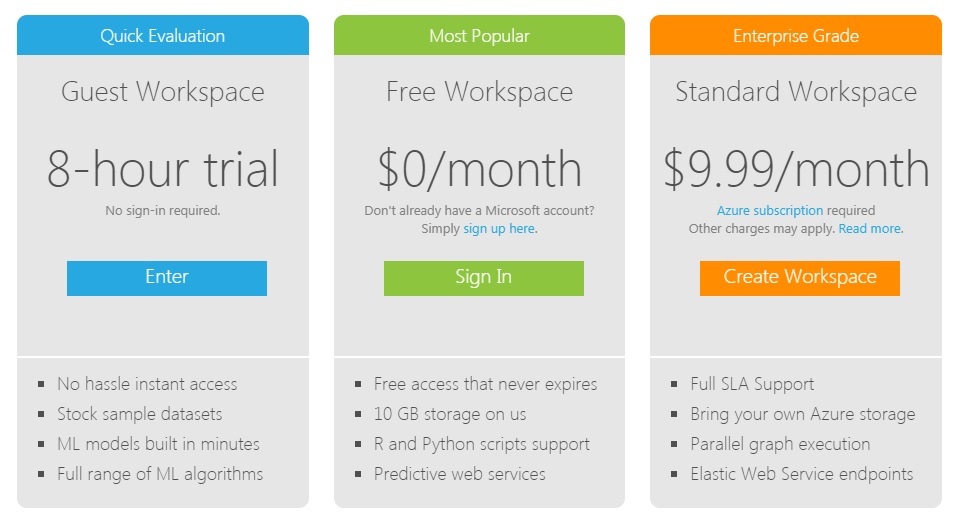
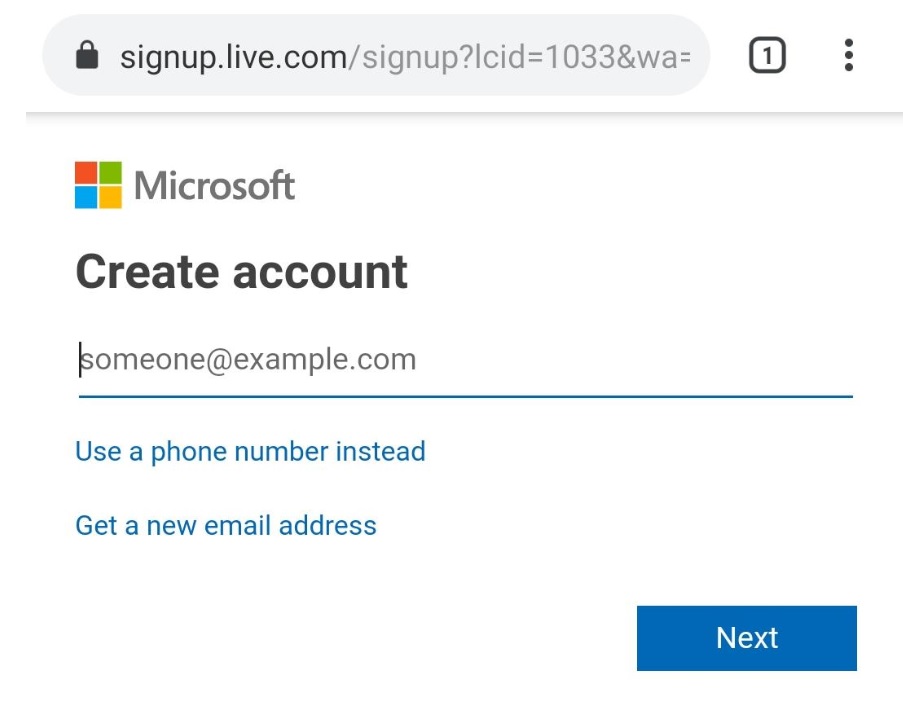
To sign up, you’ve got to go through a minor gauntlet of questions. I won’t go through all of them but this is your jumping-off point to them. Once your account is set up, work back to the Free Workspace in green and Sign in (or the Guest Workspace in blue and Enter.)
Fun can officially commence: The Azure ML Studio Interface
I promise, there is catnip involved. We’re getting there. Proof? A very Spartan but functional interface:
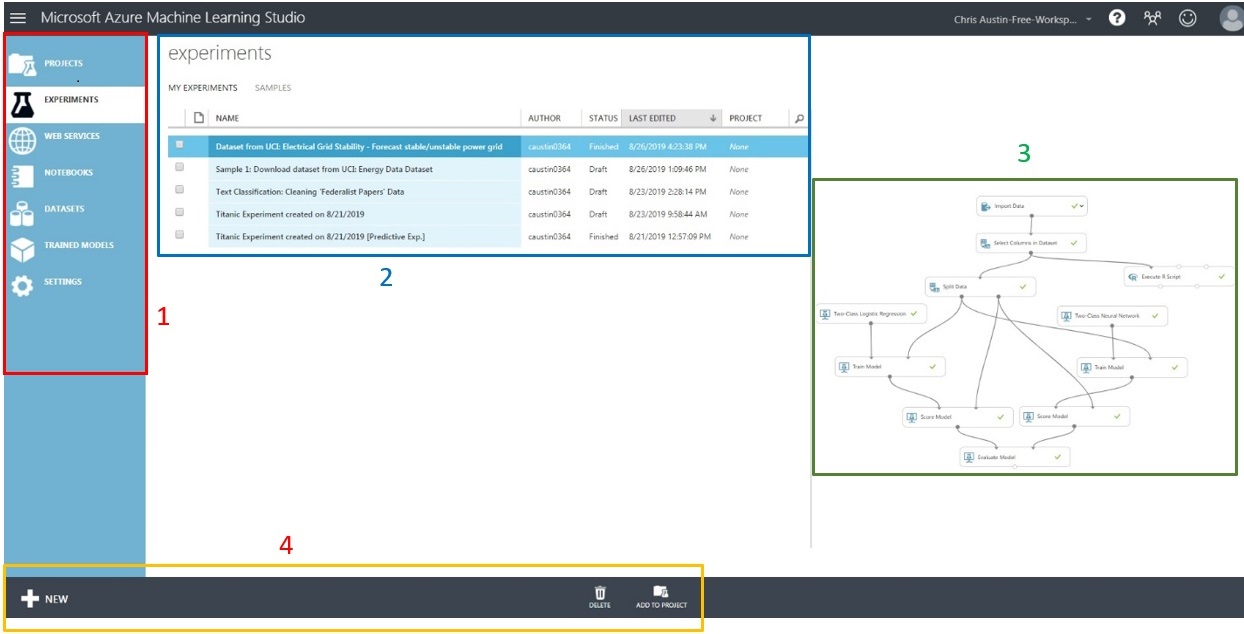
Section 2: Saved Experiments
A quick way to load up your past and saved work. Double click and your model opens up. We’ll start one in the next post.
Section 3: Experiment Visualization
The experiment you have selected shows in the pane to the right. Note the drag-and-drop objects and the connectors. You can also add comments to those object components. Comments will also show in the visualization, and We’ll be doing that in the next post as well.
Section 4: Adding and Deleting components
Don’t need an experiment anymore? No problem, select it and click Delete. However, I’d like to direct your attention to the New control element. Go ahead and click it, there’s a LOT here:
Hovering your mouse over many of the choices will give you the opportunity to either start them up or load components into your experiment. We’ll do that in the next post as well.
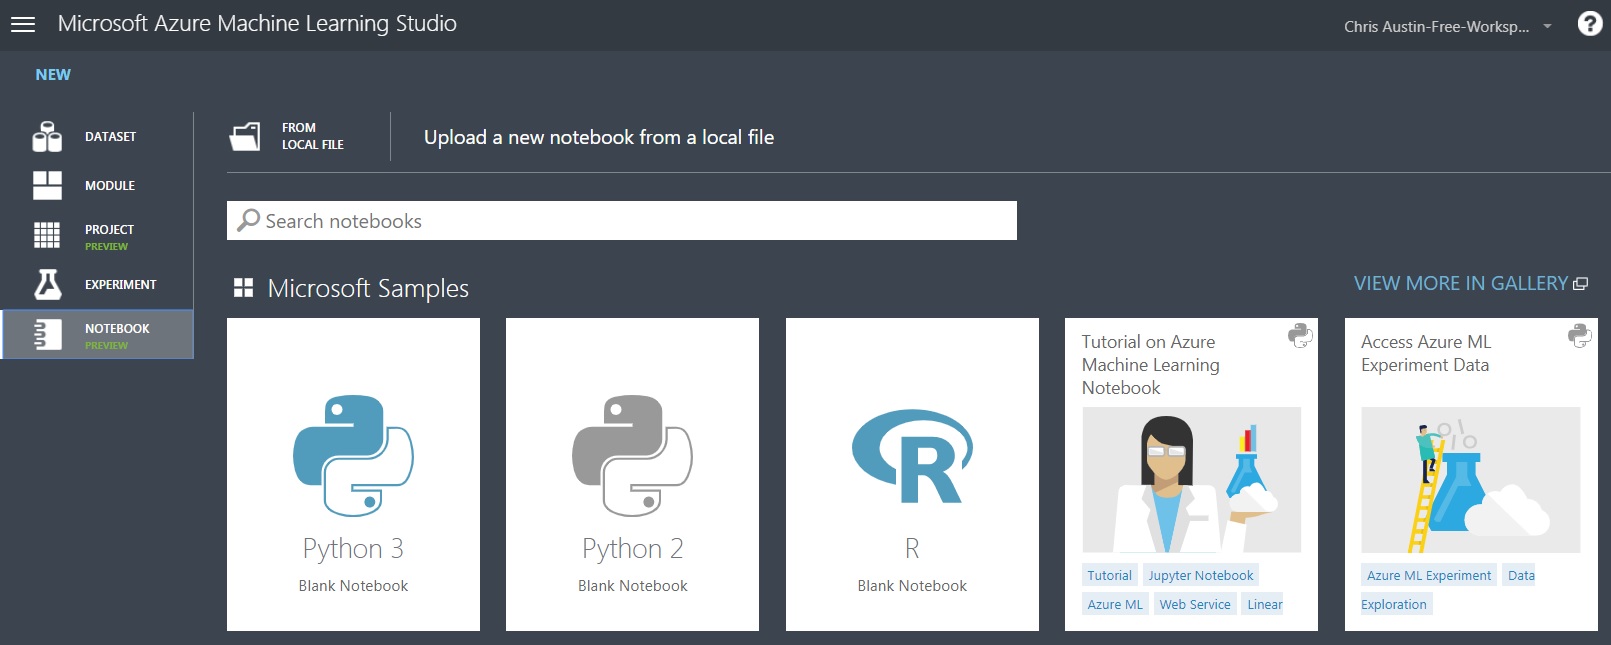
Jupyter Notebook Options for Azure
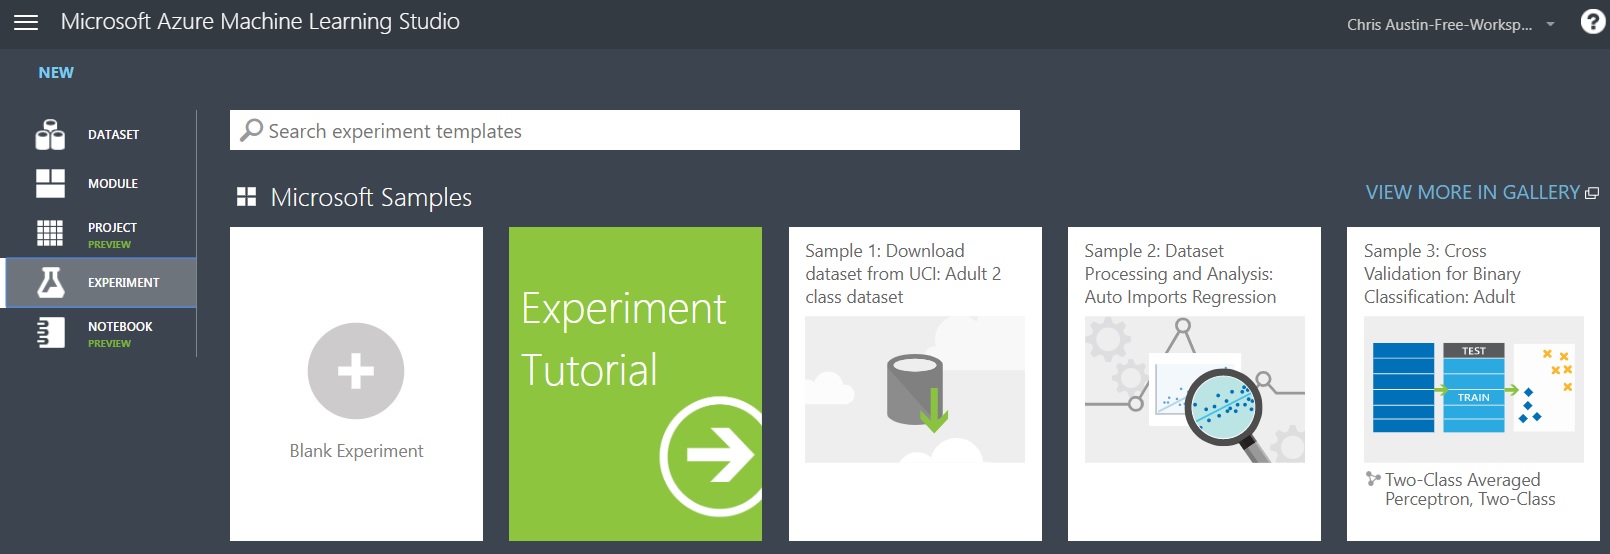
Experiment Options and Samples for Azure
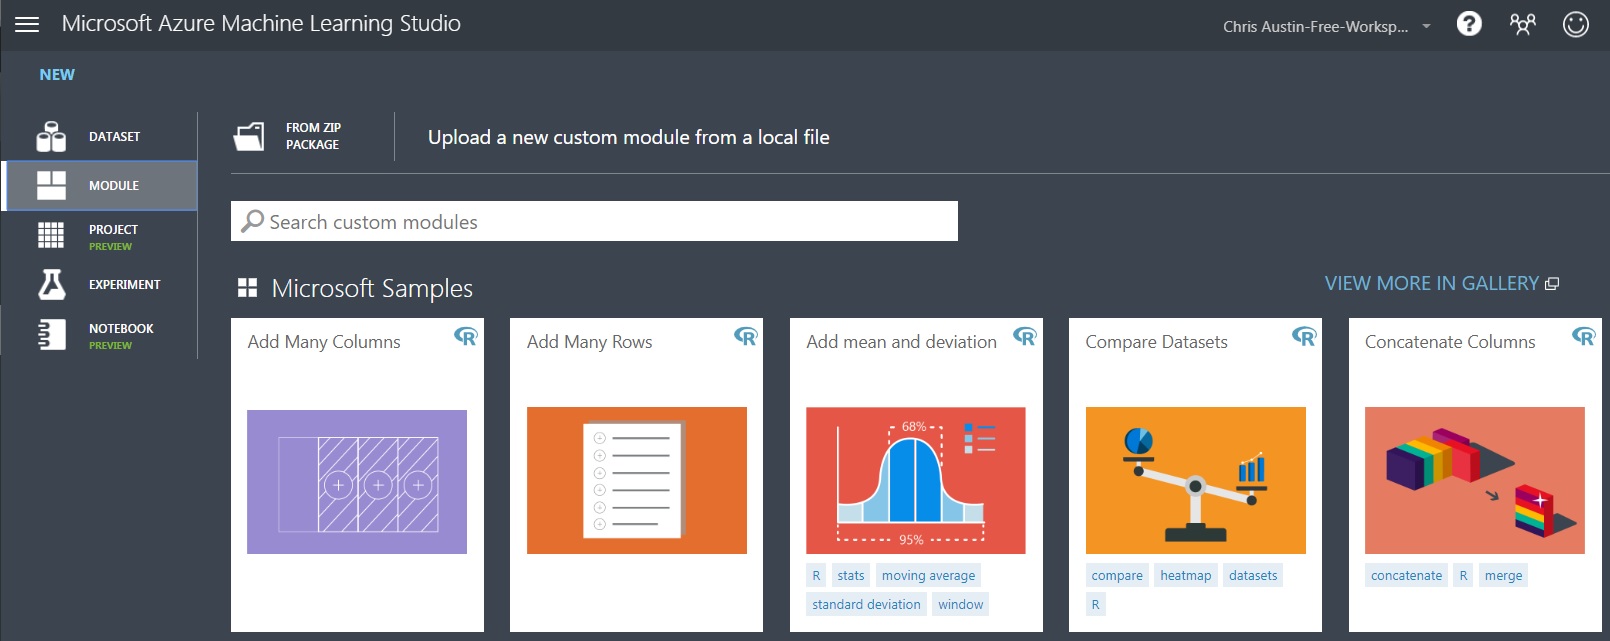
Modules within Experiments for Azure
Some More Catnip Coming Up…
That’s a good place to leave it for now. The next post will involve setting up, executing, and scoring an experiment.
After that, we’ll try a competitive model, choose the best one, and in a third post on the matter, publish it for remote access.
Further Information on the Subject:
There’s a great YouTube series of videos on Azure ML Studio by Mark Keith. Forty-six, at last count. If you wish to see an in-depth dive into the subject matter, here’s a place to go.