R and RStudio Install: The User Experience, Part 3
RStudio - One-stop shopping for all your R development needs.
Data Science Altitude for This Article: Base Camp.
In the prior two posts, we first took the temperature of the R and RStudio user community and then we installed R. Now we’re ready to download the RStudio installer executable file and take a look at some of the functionality inside the IDE.
The RStudio Product Page
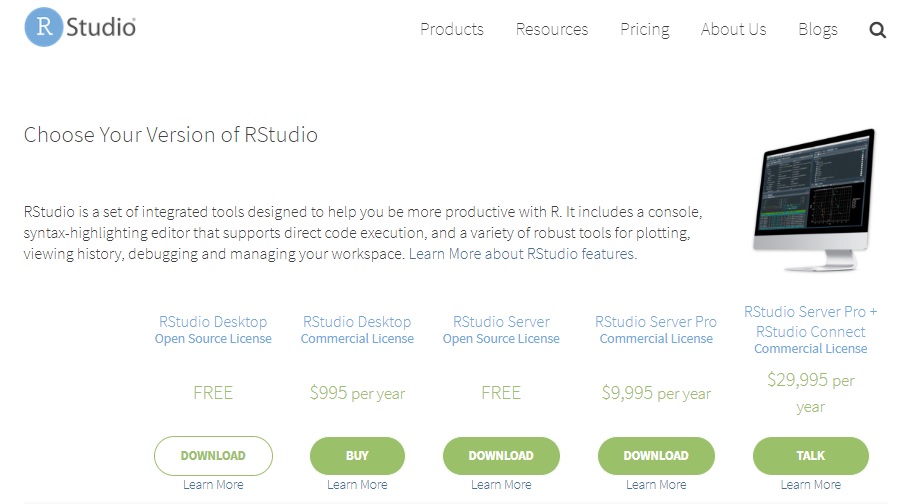
However, before we do that, please take note of the RStudio product page. It provides thorough detail on the community and professional versions available as well as their respective functionalities and prices.
Clicking on the Products tab, in addition to RStudio you’ll see an entry for R packages created with the aid of the RStudio team. These include some of the most heavily-used and well-known R packages, some of which will be subject matter for some later posts where we will do some detailed walkthroughs. I’d highly suggest taking a look through the list and noting the ones you think are interesting. If you’re like me, the answer is ‘all of them’. We’ll be back…
Installation of R Studio
For now, click on the ‘Download’ button you see under the free version of RStudio Desktop. That’ll take you towards the bottom of the current page, and presents you with the options for which type platform you want to install on. These installers are .exe files. When double-clicked, they will guide you through the setup process much as we did with the R install.
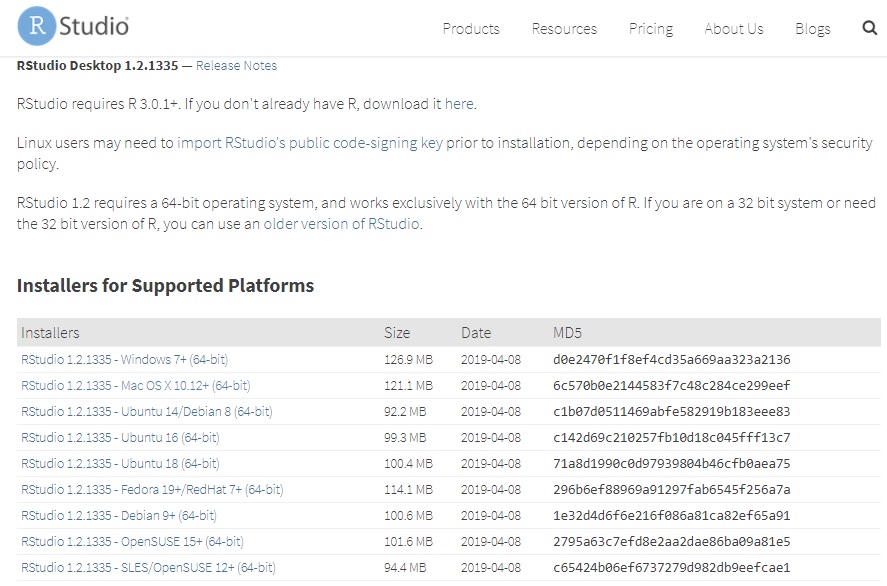
On that note, look at the first warning - “If you don’t already have R…”. If you’ve read and stepped through the prior post for Part 2, you’re in good shape to continue. We’ve already discussed the 32-bit/64-bit question and unless you’re running a machine first used in the ’90s, we’re ready to move on. Most of you will pick either of the two options, Windows or Mac OS X.
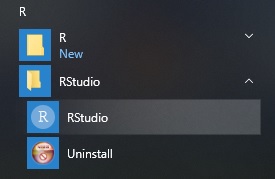
This starts a download of R-Studio-1.2.1335.exe that’s in the neighborhood of 125 MB. Once it’s finished, double-click on it and take all the defaults. We’re nearly ready to have some fun with RStudio. After the installation is complete, you’ll find it in your list of programs.
RStudio: Starting Up for the First Time
Right off the bat, you’ll have a window appear that is partitioned into several quadrants. I’ll touch on the main sections briefly; the goal isn’t to go into any of the functionality in detail. We’ll save that for another day. Otherwise, we’ll need another dozen posts on the subject. Let’s just ensure that your installation works well enough to start your journey…
For now, let’s focus on at the bottom right. It has several tabs: Files, Plots, Packages, Help, and Viewer. Click on Packages, and you’ll see a list of packages that are installed in R’s System Library. Packages here came along for the ride when we did our R install earlier.
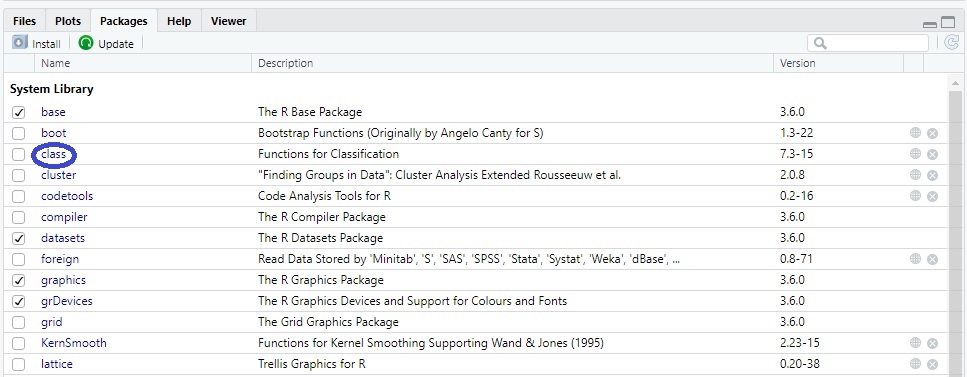
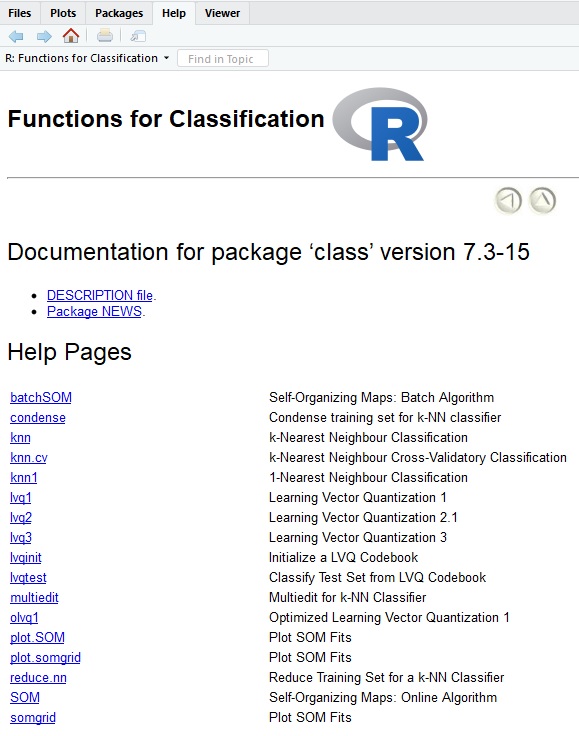
If you’re curious about what’s in these packages, click on one of them and see. It’ll change over to the Help tab and show you a list of help pages for specific functions. Here’s what’s in the ‘class’ package, for instance. The k-nearest neighbors function is in here, a well-known and simple algorithm used for both classification and regression. That’s one of our upcoming posts, and we’ll touch on that later.
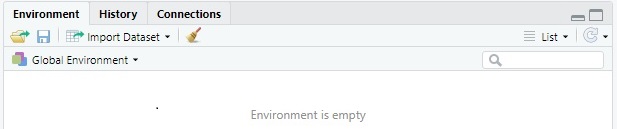
Nothing yet in the Environment tab. We haven’t set the values for any objects yet… And nothing in the History tab as we haven’t performed any commands. That’s about to change.
Some Basic ‘Housekeeping’ Settings
Now on to a bit of housekeeping: Remember the CRAN mirror that we came across during the R install process? Well, we can ask RStudio to set up R so that the nearest mirror is our default one for installing or updating packages on your machine. And we’re about to try an install out as well.
From the menu bar at the top of the screen, choose Tools and then Global Options. Choose Packages and you’ll get a screen like this one. Note the section calling out what your primary CRAN repository should be. The cool kids all call it a ‘repo’, so we’ll do that from here on out.
Select the one nearest to you and click OK. It doesn’t necessarily have to be the one physically nearest to you, but the mindset is that whatever we can do to minimize lag on installing objects. No telling how many hops data has to take between where you’re at and somewhere else in the world.

While you’re at it, setting a secondary repo isn’t a bad idea. If the first site has system problems and is unavailable, you’ve got a ready-made failover site available if you need to install a package.
Let’s Install a Package from CRAN
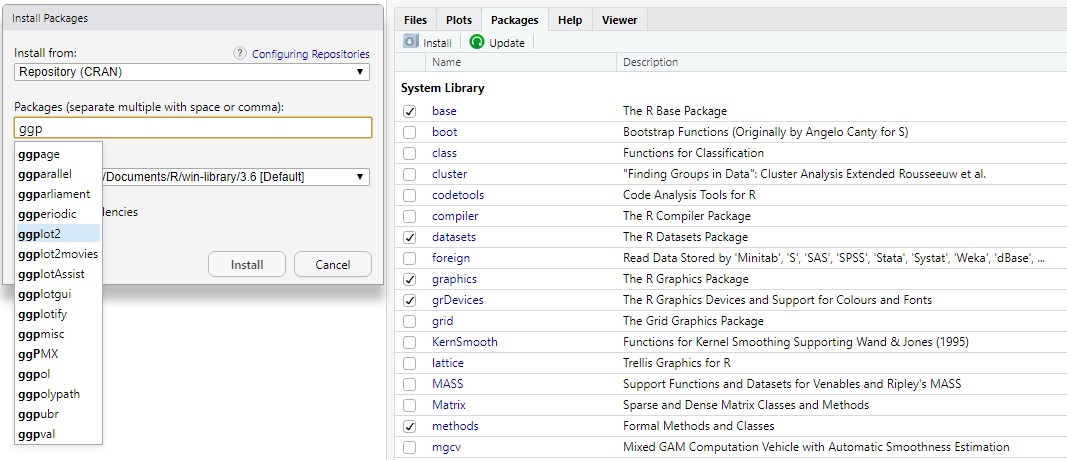
So all this talk of package installs… Let’s do one! How about ggplot2, One of Hadley Wickham’s masterpieces. It employs the Grammar of Graphics to build plots in layers, thinking of them as you would a set of stacked transparencies of various screen elements.
From the Packages tab, click the Install sub-tab. That’ll bring up an Install Packages dialog box, where you can key in the package name. An important point here, make sure that the ‘Install dependencies’ box is checked. Packages depend on code from other packages, and all need to be in place for ggplot2’s functionality to work properly.
Prior to clicking Install, a couple of words of warning…
Two gotchas can arise here. We’ll discuss them and then I’ll show what the results of the install should look like.
The first gotcha was with my virus checker. It didn’t care for RStudio making changes to my machine. It prompted me to acknowledge that RStudio was a permissible mechanism for updates. I tried it again, and all was well.
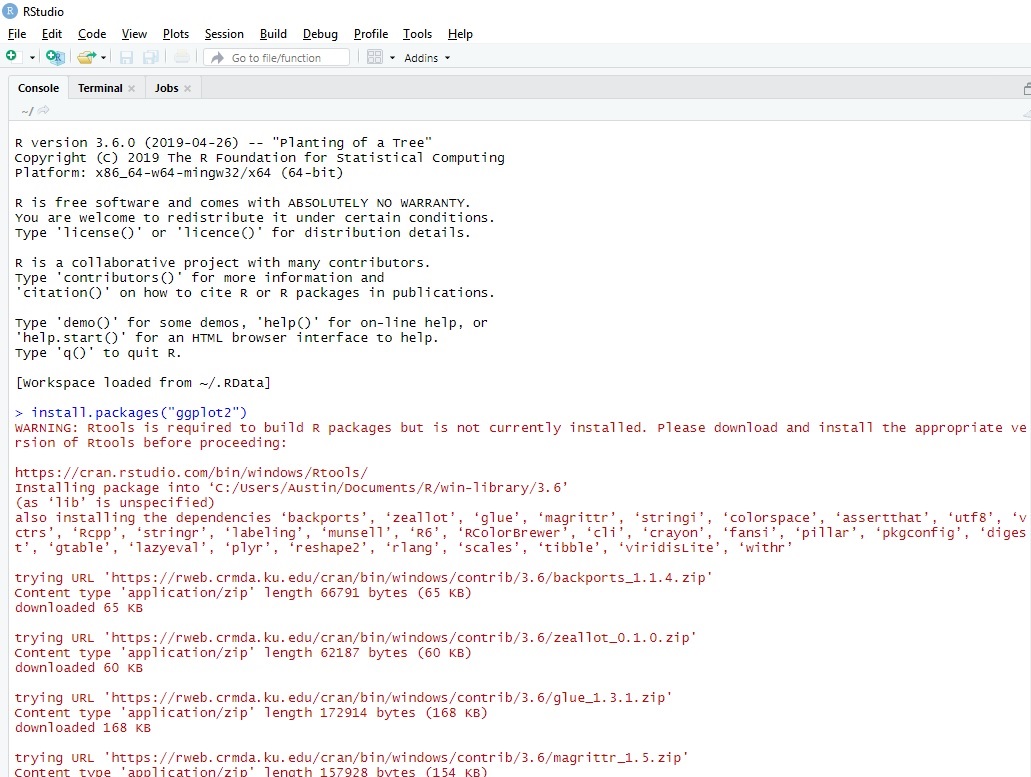
The second gotcha was a warning about Rtools not being installed. We’d discussed Rtools earlier, It’s a set of comprehensive utilities for building packages. But as you can see from the install page, versions of Rtools are pretty tightly bound to specific versions of R.
So, if you ever need to install Rtools on your machine - and that day will come if you stick with your journey - you’ll have to keep up with preventing versioning conflicts between Rtools and R. RStudio won’t do that for you as it currently stands. For today, however, we’ll skip the install.
So let’s proceed. Clicking on Install brings up something similar to the dialog below. Your action sent a command to the console: install.packages(“ggplot2”)
Notice that our choice to include dependencies when installing ggplot2 means that all kinds of other code that ggplot2 depends on automatically came along with it. That’s a good thing.
… more dependent package download messages, and then:
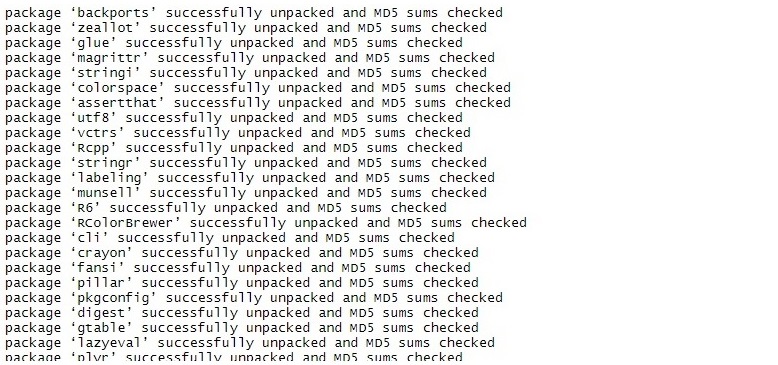
And at the end, you should see a similar message for package ggplot2. All the dependent packages install first. If no errors, we’ll continue…
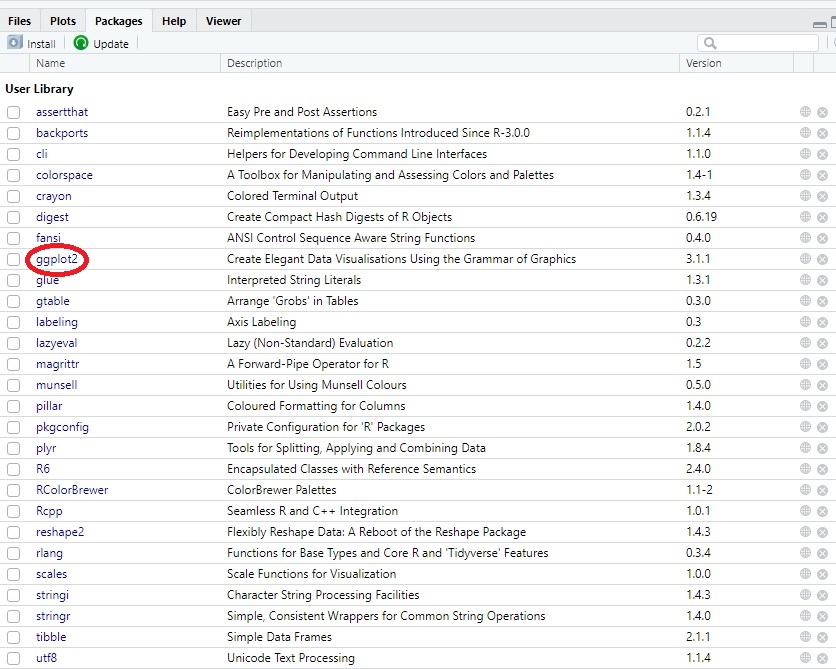
Your Packages tab should now look different. There’s a User Library Section along with the System Library Section now. It’s made up of the ggplot2 package and all the packages that it depends on. To make functions from those packages available in the console, we’re almost there. We’ll try out the plotting functionality here shortly.
Curious as to the makeup of the ggplot2 development team? Click on ggplot2 and then the ‘DESCRIPTION file’ link on the help page for the package, as we did earlier when we looked at the Help page for the ‘class’ package.
While I’m sure Mr. Wickham is quite proud of it, and rightly so, work like this is rarely a one-person show (see the bottom-right of the page where the development team is listed).
Cool Stuff, Coming Right Up…
OK - now for some cool looking stuff… Try out the demo functions. When I first installed R and was trying to understand it, I looked at all of them. You don’t have to but I’d recommend it. Type demo() from the Console to get this list.
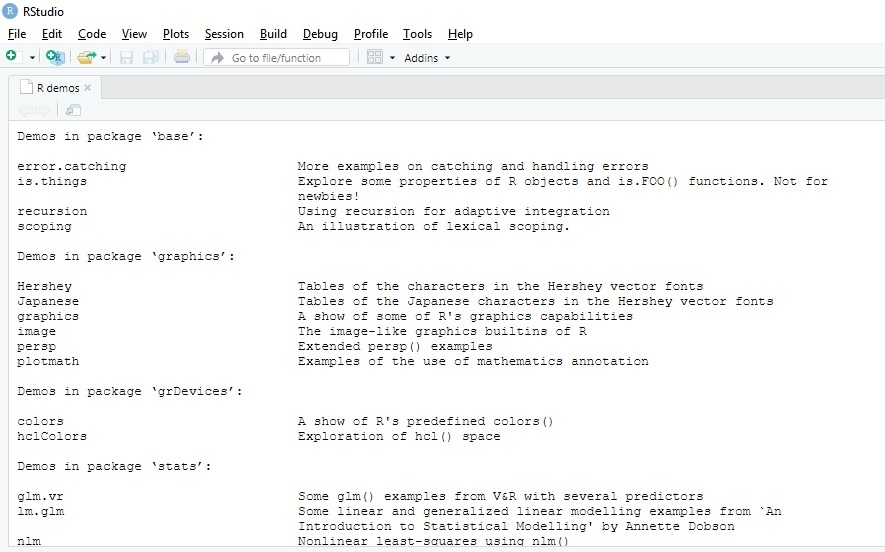
I’d suggest trying out the one that shows off R’s graphics capabilities. So type demo(graphics) into the console. You’ll get a bunch of pre-built plots that look pretty neat. You might as well try them all, they’re built for showing off and you won’t hurt anything if you do so. I won’t try to show all the output here.
But we do have one last thing left to try: a plot with the ggplot2 package we just installed. I’ll show you some code here. Copy and paste this in the Console and see how it comes out. Comments optional… Again, we’ll be covering this package in more detail at a later date.
# Makes commands from the ggplot2 package available
library(ggplot2)
# Set x and y vectors for plot
x_coord <- c(1,2,3,4,5)
y_coord <- c(7,12,14,18,26)
# Create a data frame out of the vectors (5 rows/2 columns)
xy <- data.frame(x_coord, y_coord)
# Draw a scatterplot with the x,y coordinates. End the line with the continuation (plus) character.
ggplot(xy) +
  geom_point(aes(x_coord, y_coord), col = "red", size = 4) +
  geom_line(aes(x_coord, y_coord), col = "blue") +
  labs(title = "My First ggplot")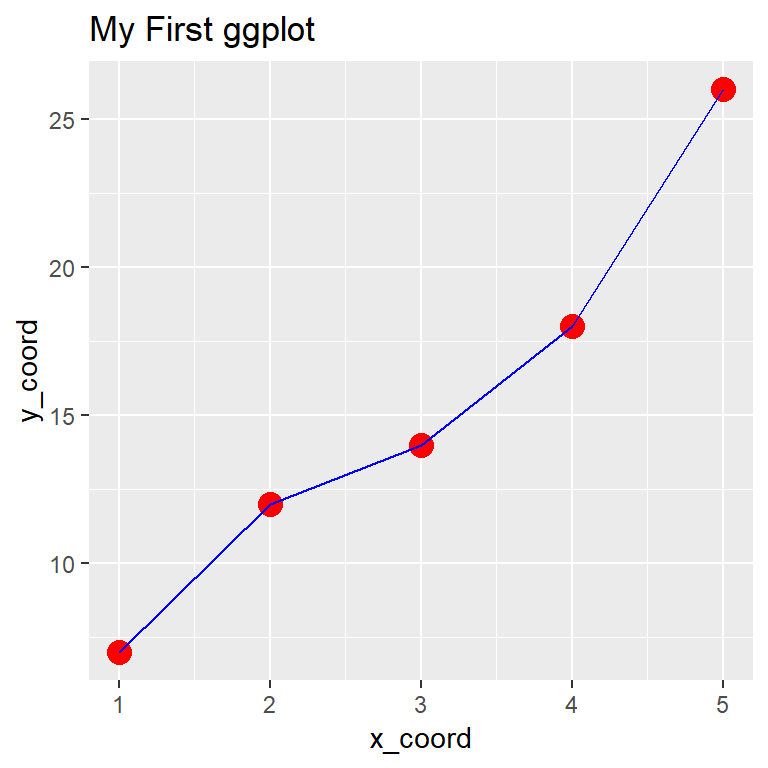
And now you have both R and R Studio on your machine. There are a massive number of tutorials and videos on how to get rolling in both these products. I’ll list a few out below. Enjoy the journey !!
Further Information on the Subject:
RStudio’s tutorials are quite thorough, they’re a great place to start. They also point you to some additional online learning.
Derek Banas also has a nice intro tutorial for both R and RStudio on YouTube.